LEARN HOW TO GET THE STAGGERED SHIPLAP WALL EFFECT
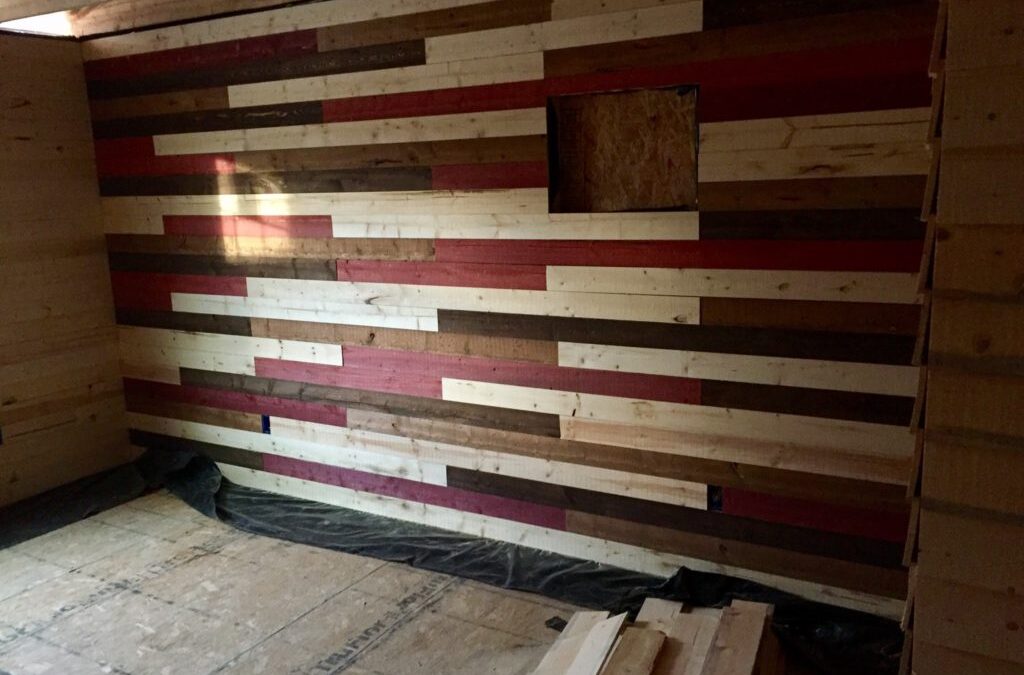
A staggered shiplap wall is an easy and affordable way to transform any plain, undecorated space into a warm and inviting focal point. Using our shiplap boards without the lap, you can create the same timeless look as traditional shiplap, with a simpler installation process.
While standard shiplap was originally designed to keep water out of ships (hence the name), our no-lap shiplap panels make it easy to achieve that signature style in your home. With just a framing square and a few basic tools, you can install a beautiful staggered shiplap wall that adds depth, texture, and charm to any room.
In this example, we’ll walk you through how to install shiplap on an entryway wall, step by step.
HOW TO INSTALL A STAGGERED SHIPLAP WALL
Step X Step Process
STEP 1
Cut your Shiplap into varying increments of 1, 2, 3, and 4 ft long. Alternatively, you can use the guide shown in the YouTube video below to cut on the fly without needing a measuring tape.
STEP 2
Lay out four rows at a time on the floor. Make sure each row starts with a different sized plank. During this time, plan your color scheme if your Shiplap is colored.
STEP 3
Most people start installing their Shiplap at the bottom corner of the wall, but you can start from the top as well if you want.
STEP 4
Make sure you are using the left-overs from each plank you cut to maximize square footage. Get a better idea of this concept in the following video.
STEP 5
Install the Shiplap as your normally would
We hope you enjoyed this segment of the American Lumbermill Co Blog. If you are intriguied by this style of decor, call and Chat with us about how we can make your home an oasis or visit our contact page.